Mon to Fri: 09:00 am to 07:00 pm

How to Install Vinyl Siding
Are you looking for new siding for your home? Are you looking for affordable siding that will go great with your home? Look no further than vinyl siding. This popular choice offers numerous benefits, from its resistance to pests and rot to its low maintenance requirements.
But how do you go about installing vinyl siding? Fortunately, the process is fairly straightforward, though it does involve several steps that we will be sure to go over to help you on your next siding project. With the right tools and techniques, anyone can successfully install vinyl siding and enjoy its many benefits for years to come.
What is Vinyl Siding
Before we install anything it is important to know what we are installing. Vinyl siding is a popular type of cladding material that is frequently used on homes and other buildings. It is made from a durable plastic material called polyvinyl chloride, or PVC. This material is known for its strength, weather resistance, and low maintenance requirements.
Vinyl siding is designed to protect homes from the elements, such as wind, rain, and temperature extremes. It also serves an aesthetic function, as it can be designed in a variety of colors and styles to complement the architecture of the building. Overall, vinyl siding is a practical and cost-effective option for homeowners looking to improve the look and durability of their home's exterior.
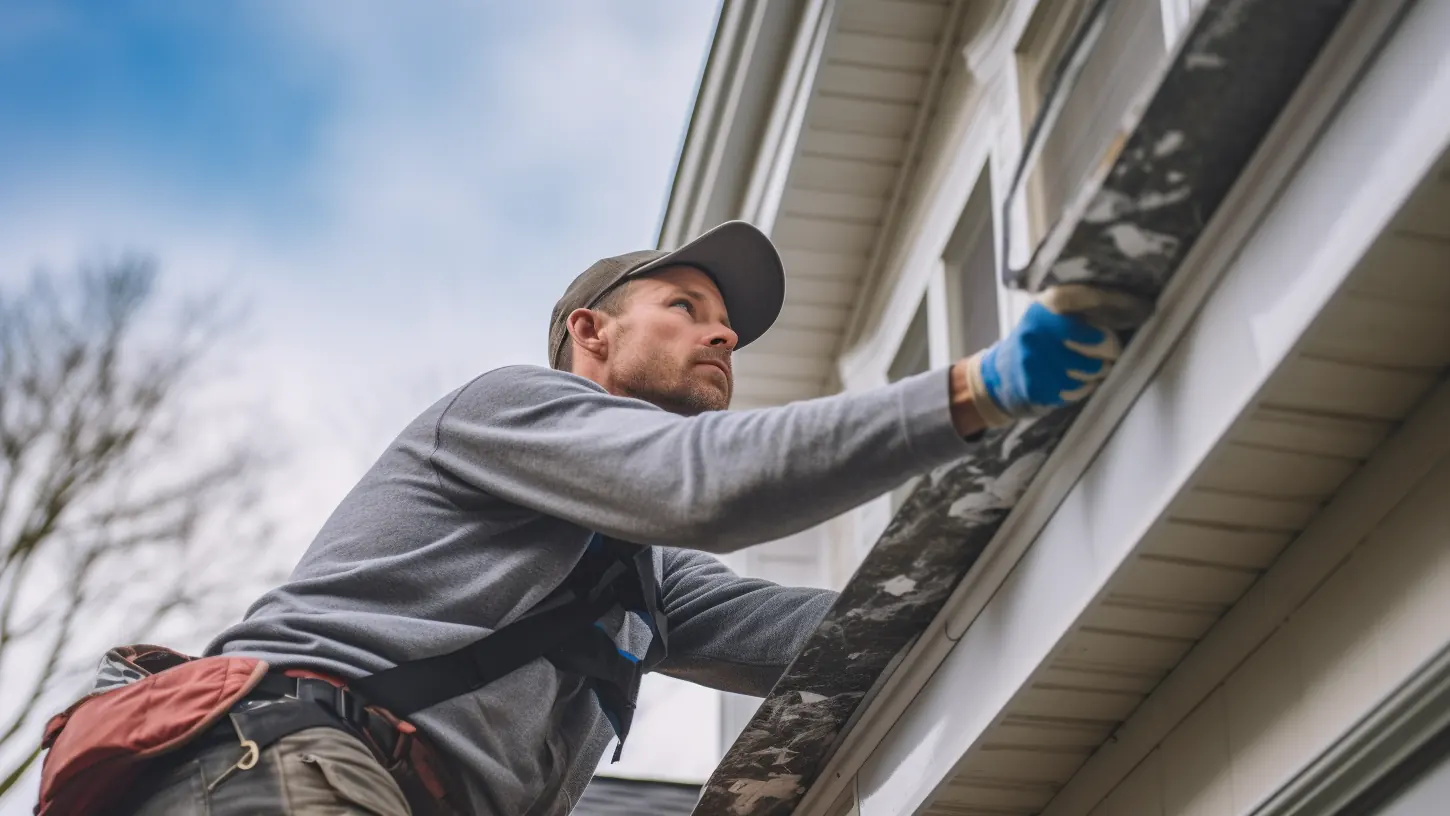
Vinyl Siding Installation
In this section, we will give you the step by steps on how to install vinyl siding on your home. Whether you are replacing existing siding or putting vinyl siding on your new construction, what we are about to share with you will help you tackle any challenge vinyl siding will throw at you.
Materials
When it comes to installing vinyl siding, there are several materials and tools that you will need.
- Vinyl siding panels
- Trim boards
- fasteners.
- A level
- Tape measure
- Snap lock punch tool
- Utility knife
- Hammer and nails
Replacing Vinyl Siding
If you are replacing vinyl siding on your home, you will have to go through a siding removal process. Before beginning the process, it is important to understand the materials used in the installation and to have the proper tools at hand.
Removing vinyl siding can be time-consuming, but with careful attention to detail and the right tools, it can be done efficiently and without damaging the house.
Removal Preparation
Be sure to remove all shutters, downspouts, and light fixtures properly. This will make the removal process much easier. Remove any old caulking. Check around the removal area for anything that would be a hindrance to the removal process and be sure to take care of that as well whether that be shrubbery or anything else.
Removal
The first step is to loosen the siding panels by sliding a siding removal tool underneath the panel and pulling it downward. Once the panel is loose, gently pull it off the wall, being careful not to damage any surrounding panels or the underlying structure. Carefully handle all siding boards and never be afraid to ask for help. When you are finished removing the panels, then you are ready to begin the installation process.
The Process
Preparation
Before starting any vinyl siding installation project, proper preparation is crucial. Here are a couple of things you can do to make sure your house is ready for new vinyl siding.
Cleanliness
Ensure a clean and flat surface for the siding to adhere to. This means removing any dirt, debris, or old siding from the area.
Inspection
Inspect the existing surface for damage or rot, and repair or replace any affected areas. It is also important to check the wall's condition, such as identifying any leaks that could impact the siding installation. This is not always required with new construction but recommended for older homes.
Flashing
Use flashing to direct water away from any opening on your wall. When applying flashing, such as aluminum trim coil, apply it all around the opening starting at the bottom, on the sides, and then above the opening.
House Wrap
Apply a house wrap over the wall where you will be installing the vinyl siding. Applying the house wrap along the wall studs will help create a smooth sheathing for the new siding.
Insulation / Moisture Barrier / Furring Strips
Install insulation, a moisture barrier, and furring strips before beginning the actual installation process. This is the best time to upgrade the insulation of your home. Place these all around windows and doors.
TIP: When installing furring strips, if you are planning on installing your vinyl siding horizontally, make sure furring strips are installed vertically. If you are installing your vinyl siding vertically, install the furring strips horizontally.
Step One
The first step is to measure the area where the siding will be installed accurately. The measurements will ensure that the right amount of siding material is ordered to avoid delays in the installation process. Additionally, measurements will allow for accurate cuts and fitting of the siding material for a precise and professional finish.
You can create a chalk line in the area where you are installing the vinyl siding along the width and length of the area. Be sure to measure corner posts and any triangular regions for easy installation.
Accurate measurements are essential to ensure the panels fit properly and look seamless once installed.
Consequently, with accurate measurements, the installation process will proceed efficiently, minimizing waste and errors. Taking the first step well will set the pace for the rest of the siding installation process.
Step Two
Using a siding square and a utility knife or tin snips, carefully cut the panels to fit around windows, doors, and other obstacles. It's essential to take your time during this step to avoid mistakes and ensure the final product looks polished and professional.
Don't rush through the cutting process, and always double-check your measurements before making any cuts. With attention to detail and a steady hand, you can complete this step with ease and move on to the next phase of your siding installation project.
Step Three
Now that your vinyl siding is cut to size, it's time to begin the installation process. Begin at the bottom of the wall, starting with starter strips.
Starter Strips
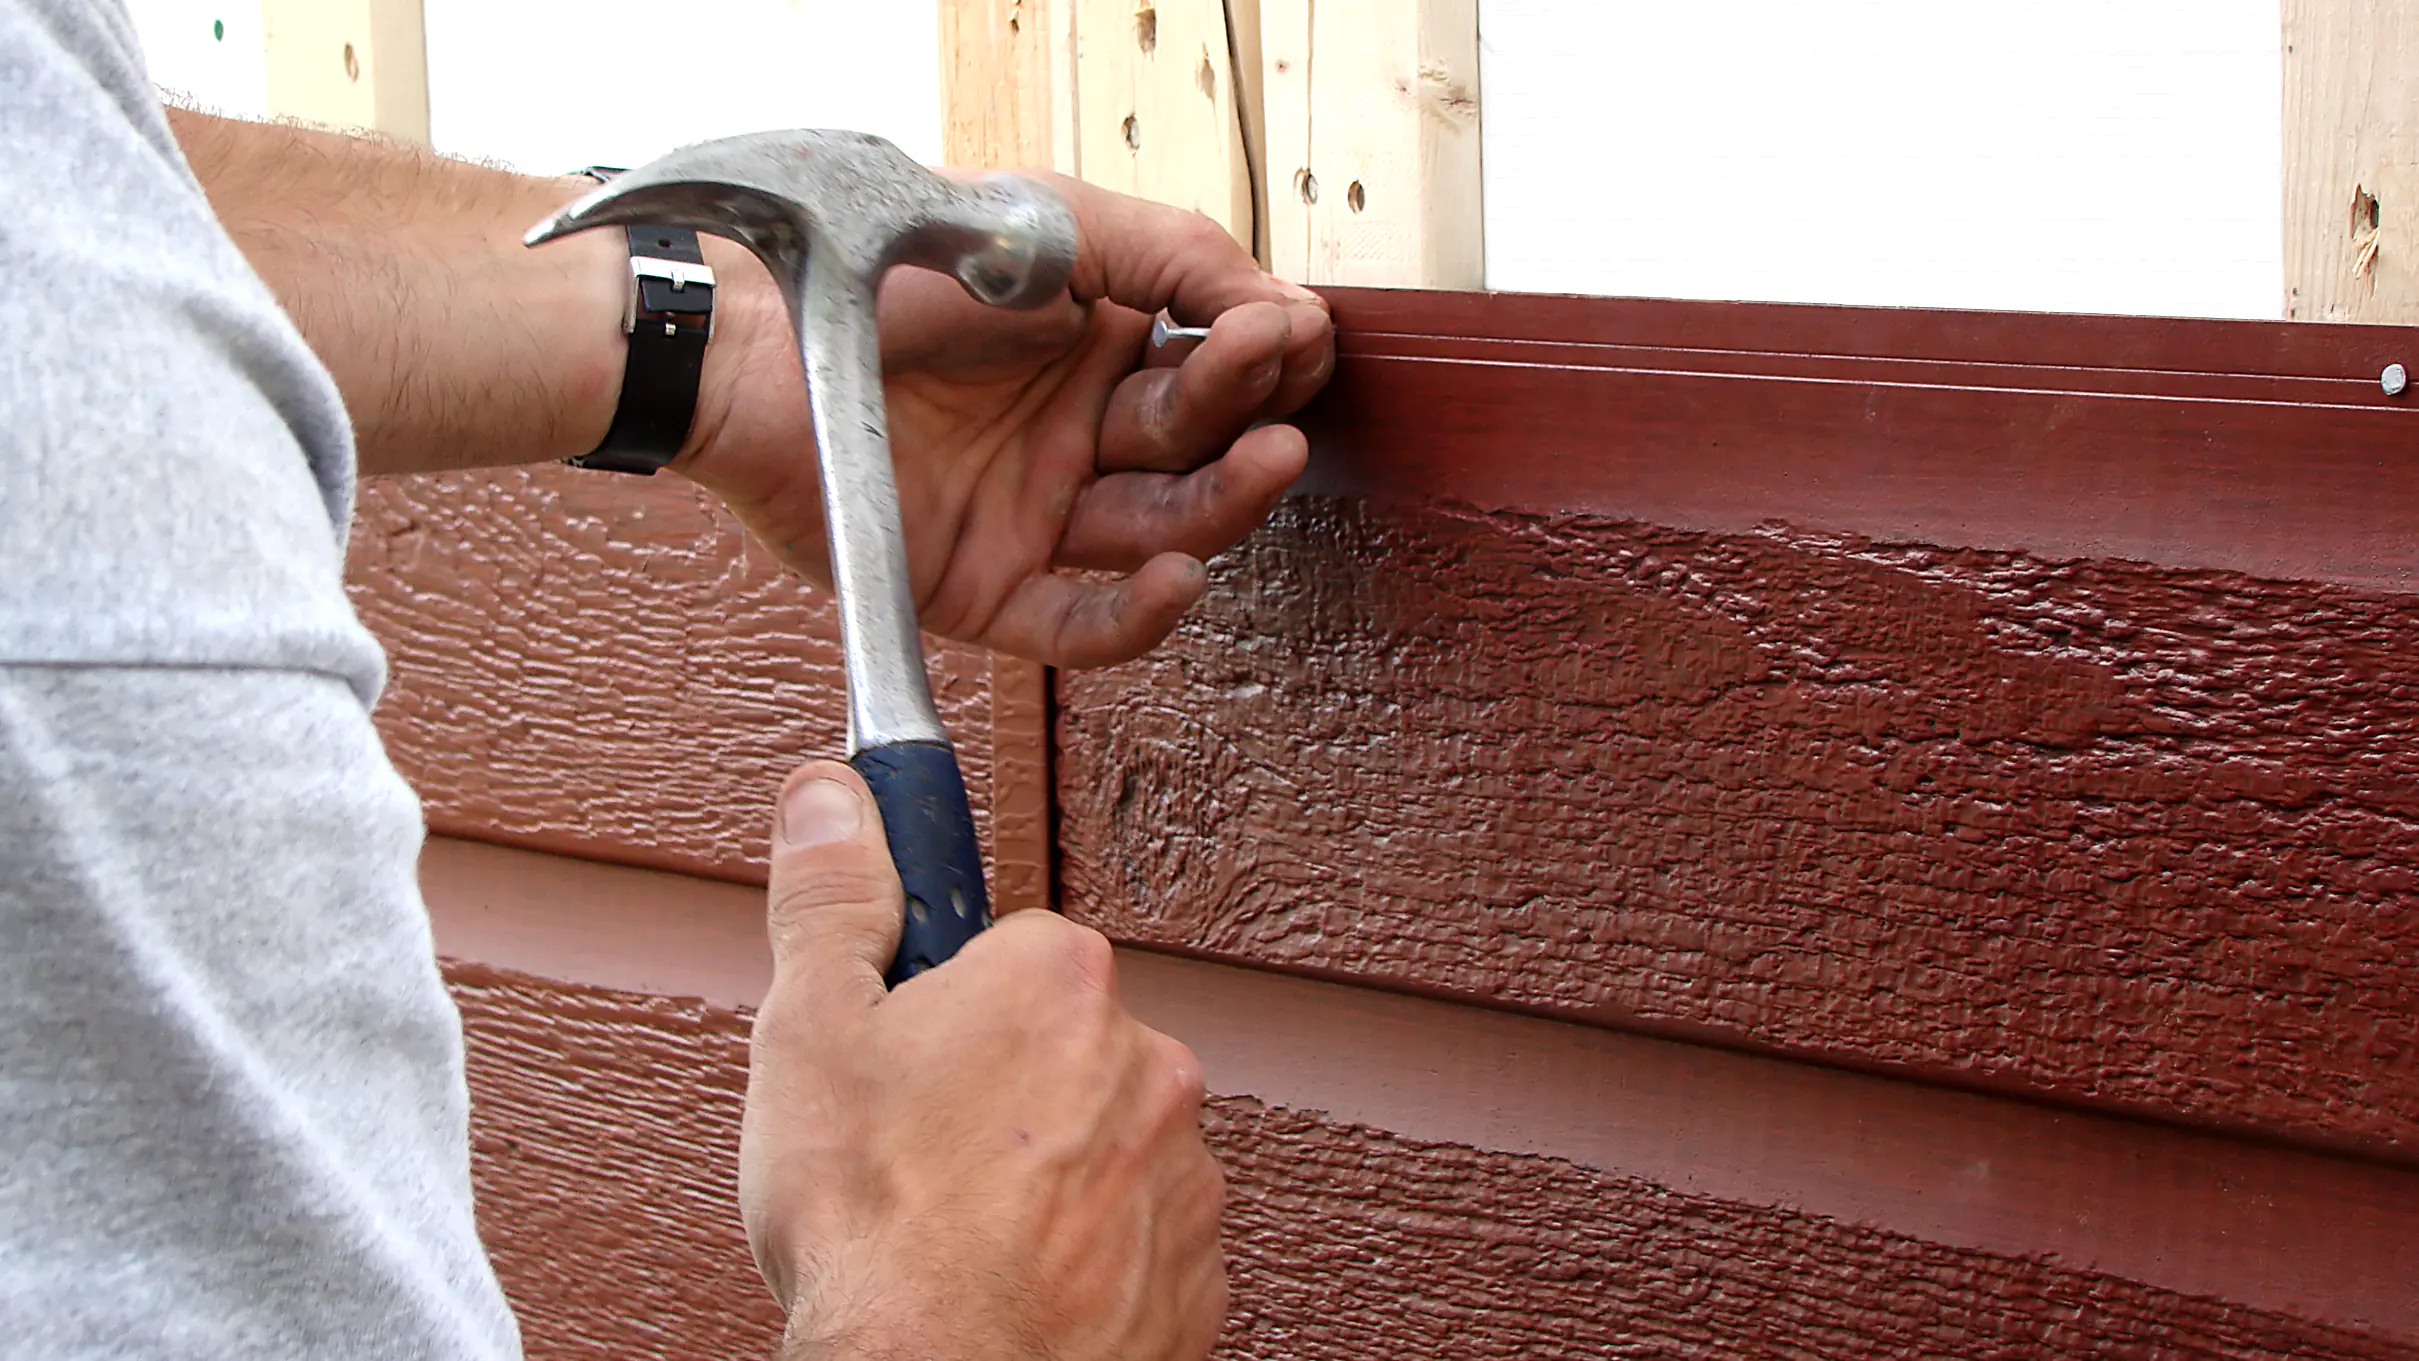
The starting strip helps keep the siding pieces aligned and provides a level base for installation. With a hammer or drill, fasten each piece directly through the furring strips. Be sure to leave a gap of about 1/4 of an inch from the nail head to the siding panel for expansion and contraction as temperatures change using corrosion-resistant nails or galvanized steel nails.
Corner posts
You will next install the inside corner posts after the starter strip is installed around the house. When installing be sure to install the corner post 3/4 of an inch below the starter strip.
When you are installing the corner posts, use nails and nail the posts to the adjoining walls of the home. When nailing, allow for expansion.
Once the inside corner posts are installed you can begin on the outside corner posts and do the same thing for the outside corners.
TIP: when installing corner posts, leave room for the vinyl soffit if you are replacing the existing soffit or installing new vinyl soffit.
Step Four
J Channel Vinyl Siding
You will next install J channels for the windows and doors in your home. Start by measuring the length of your opening and cut your J channel to size using tin snips or a circular saw with a vinyl siding blade. Next, nail the J-channel in place, making sure it is level and securely attached.
Use corner pieces to finish off the edges and ensure a clean, seamless look. Don't forget to leave a small gap between the siding and your J-channel to allow for expansion and contraction during extreme weather conditions.
Once you've connected the J-channel to the wall, install a starter strip on top of it and begin fastening your last row of siding. Move along each piece until all pieces are in place and cut off any excess siding material with a utility knife.
Install the Vinyl Siding

Once you have everything in place you are ready to start the vinyl siding installation. Starting from the starter strip begin to install the siding panels, nail the siding into the wall leaving room for expansion and contraction. Continue going up the wall, adjusting and trimming as needed.
Make sure to fit the top siding panel and properly measure the distance between the under-sill trim or utility trim and the siding panel to ensure a snug fit. Fit everything together and double check that everything is installed properly.
Congratulations
Hopefully this blog has helped you either install your new vinyl siding or has informed you on the vinyl siding installation process. We understand this can be a daunting task for some and help is always great to have. If you need help be sure to contact us. Having a professional around ensures that the job will be done well and with excellence.
Contact Us
Get a FREE Siding & Windows Estimate
Serving North California & The Greater Bay Area For The Last 15 Years
Latest Posts


Book your appointment
Get a free siding or windows estimate today by simply filling out this form.


