Mon to Fri: 09:00 am to 07:00 pm

How to Install Hardie Siding
Are you looking to upgrade the exterior of your home with durable and reliable siding? Do you have the siding but do not know how to install it? Where do you start with installation?
Don't fret - our team of experts is here to guide you through the process. We will be talking about how to install James Hardie siding from measuring and cutting to proper installation techniques, we have the knowledge and experience to ensure your Hardie siding is installed correctly and efficiently.
Let's get started on transforming the look of your home with the trusted quality of James Hardie siding.
What is James Hardie Siding?
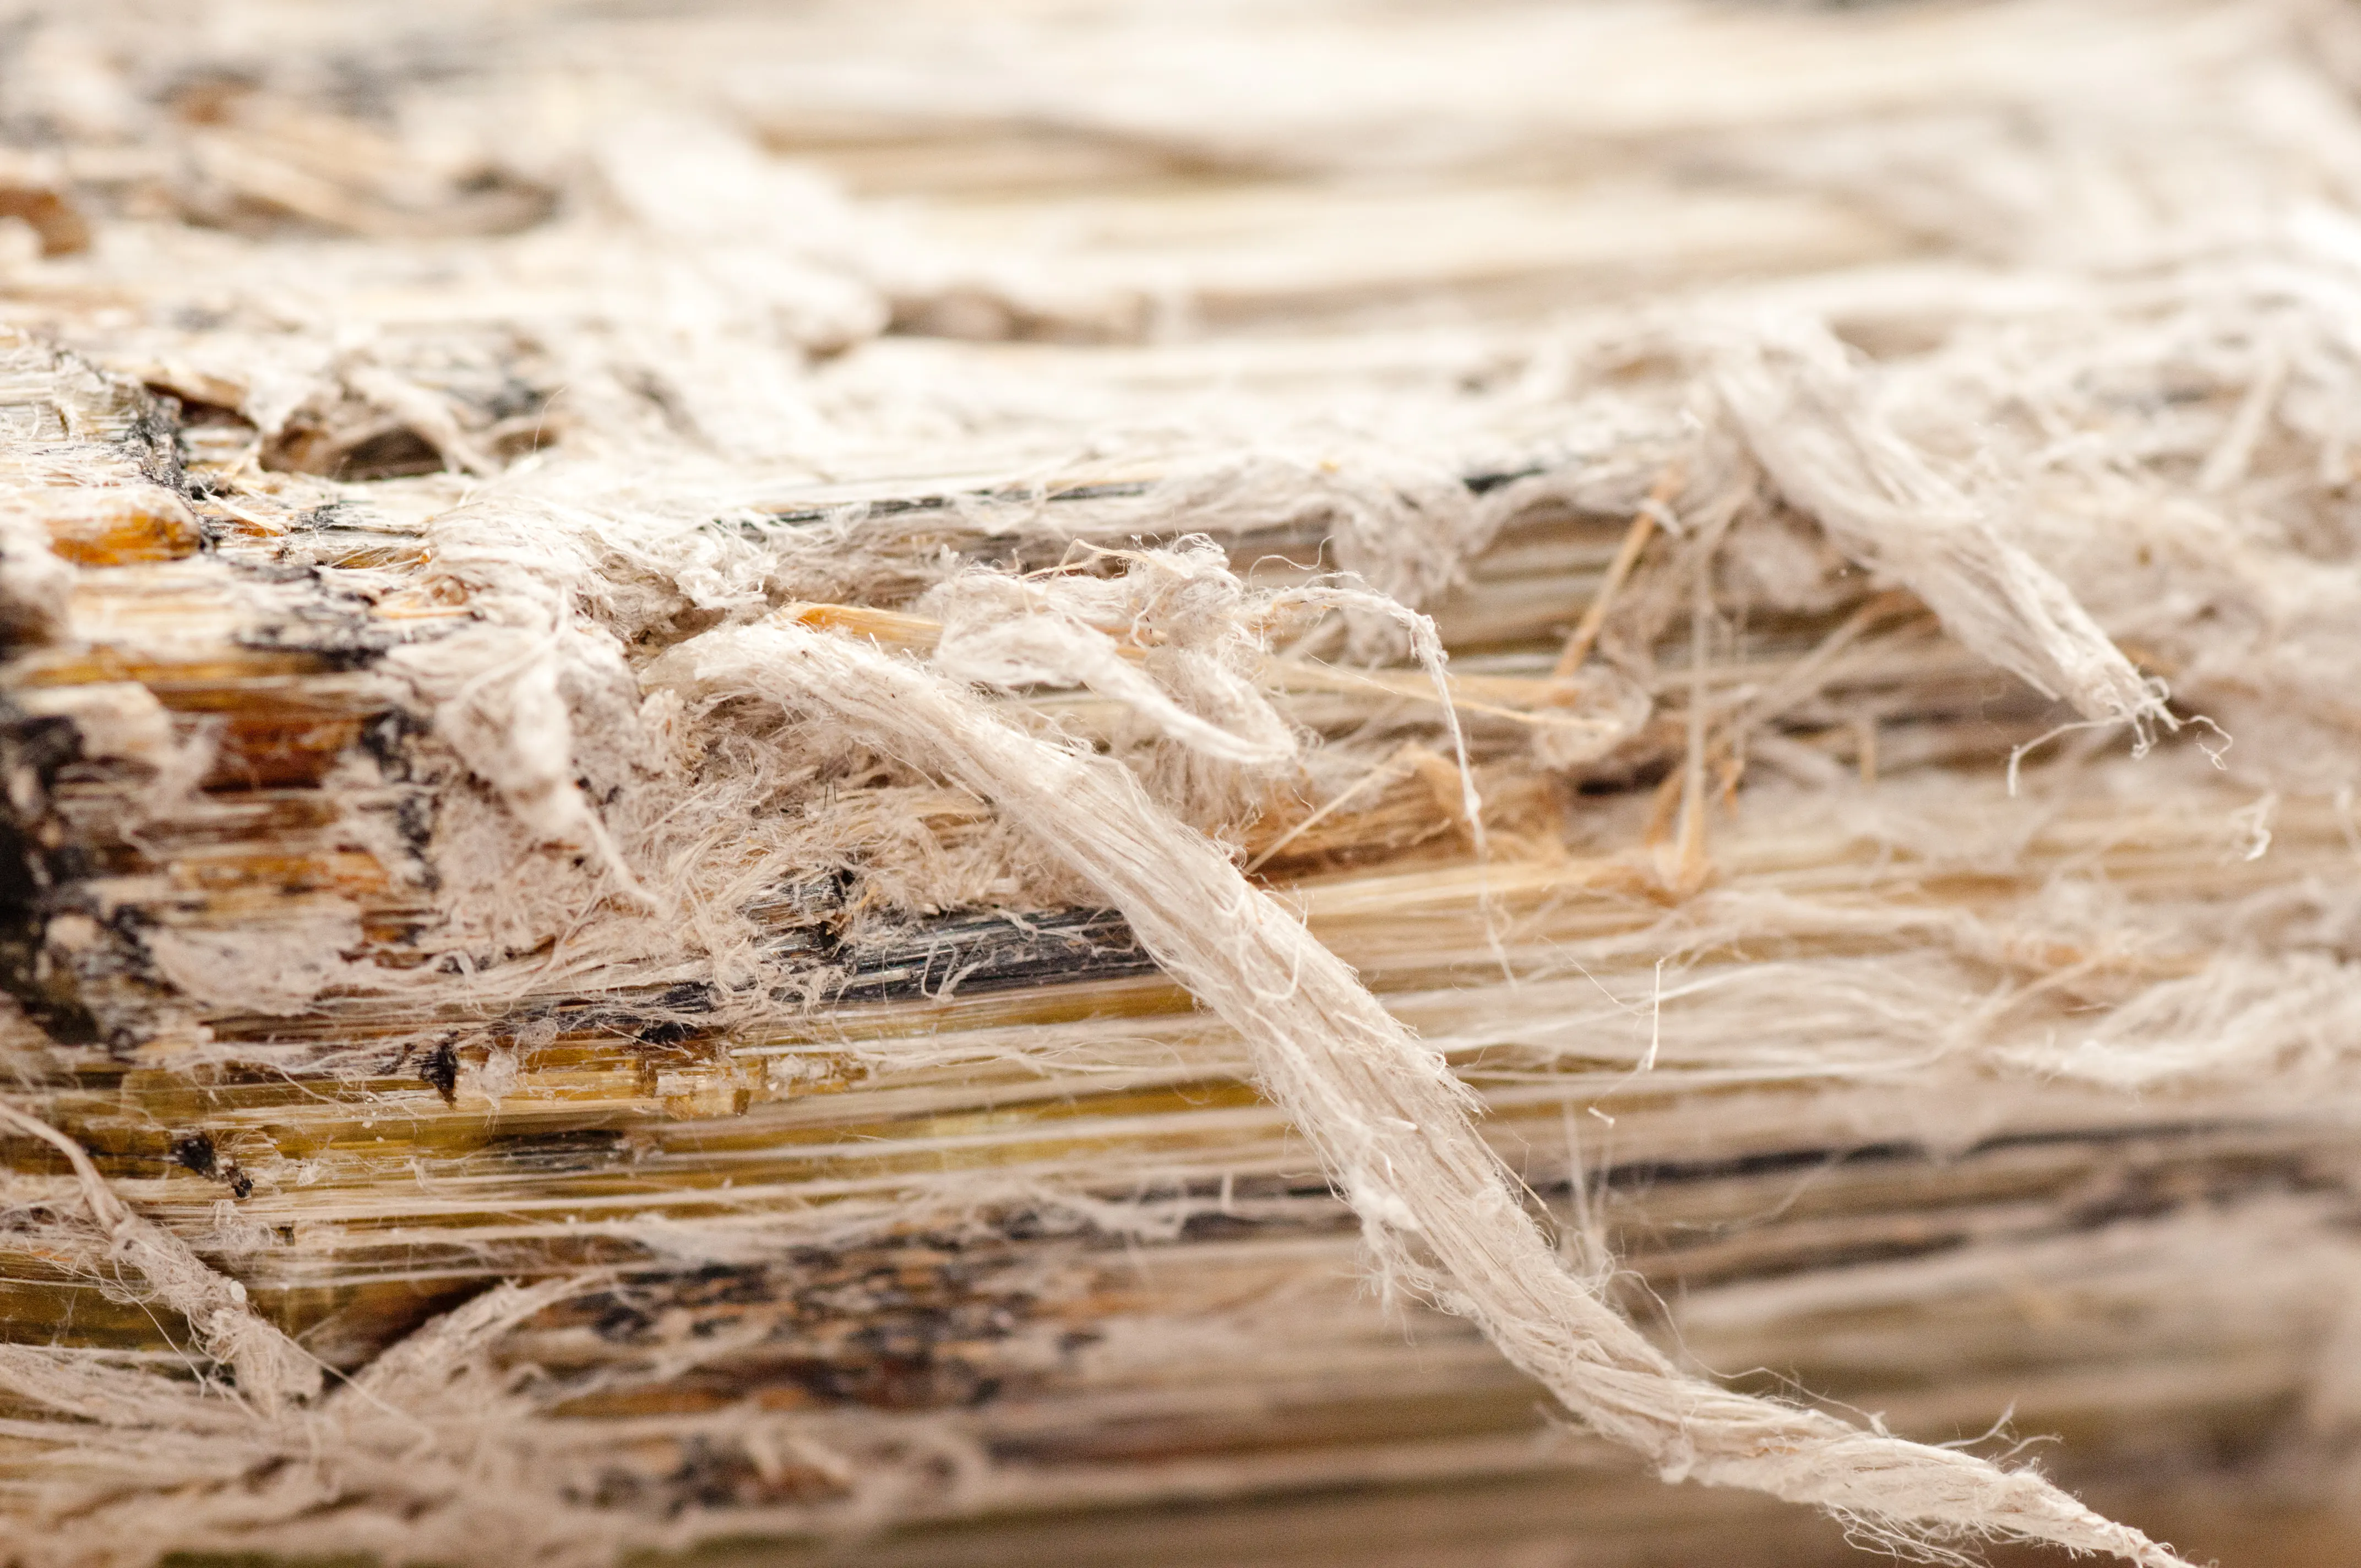
James Hardie siding, also known as Hardie siding or fiber cement siding, is siding created by nonother than James Hardie. In the 1980s, the world's leading manufacturer James Hardie invented the modern-day, asbestos-free fiber cement siding for residential and commercial buildings.
What is James Hardie Fiber Cement Siding Made Out of?
Hardie siding is primarily made out of Portland cement, cellulose or wood fibers, and sand. This material composition makes the siding highly durable in terms of protection against the elements, such as wind, rain, snow, fire, and much more. The James Hardie siding contains zero, cancer-causing, asbestos material that was previously used by other companies.
What You Need
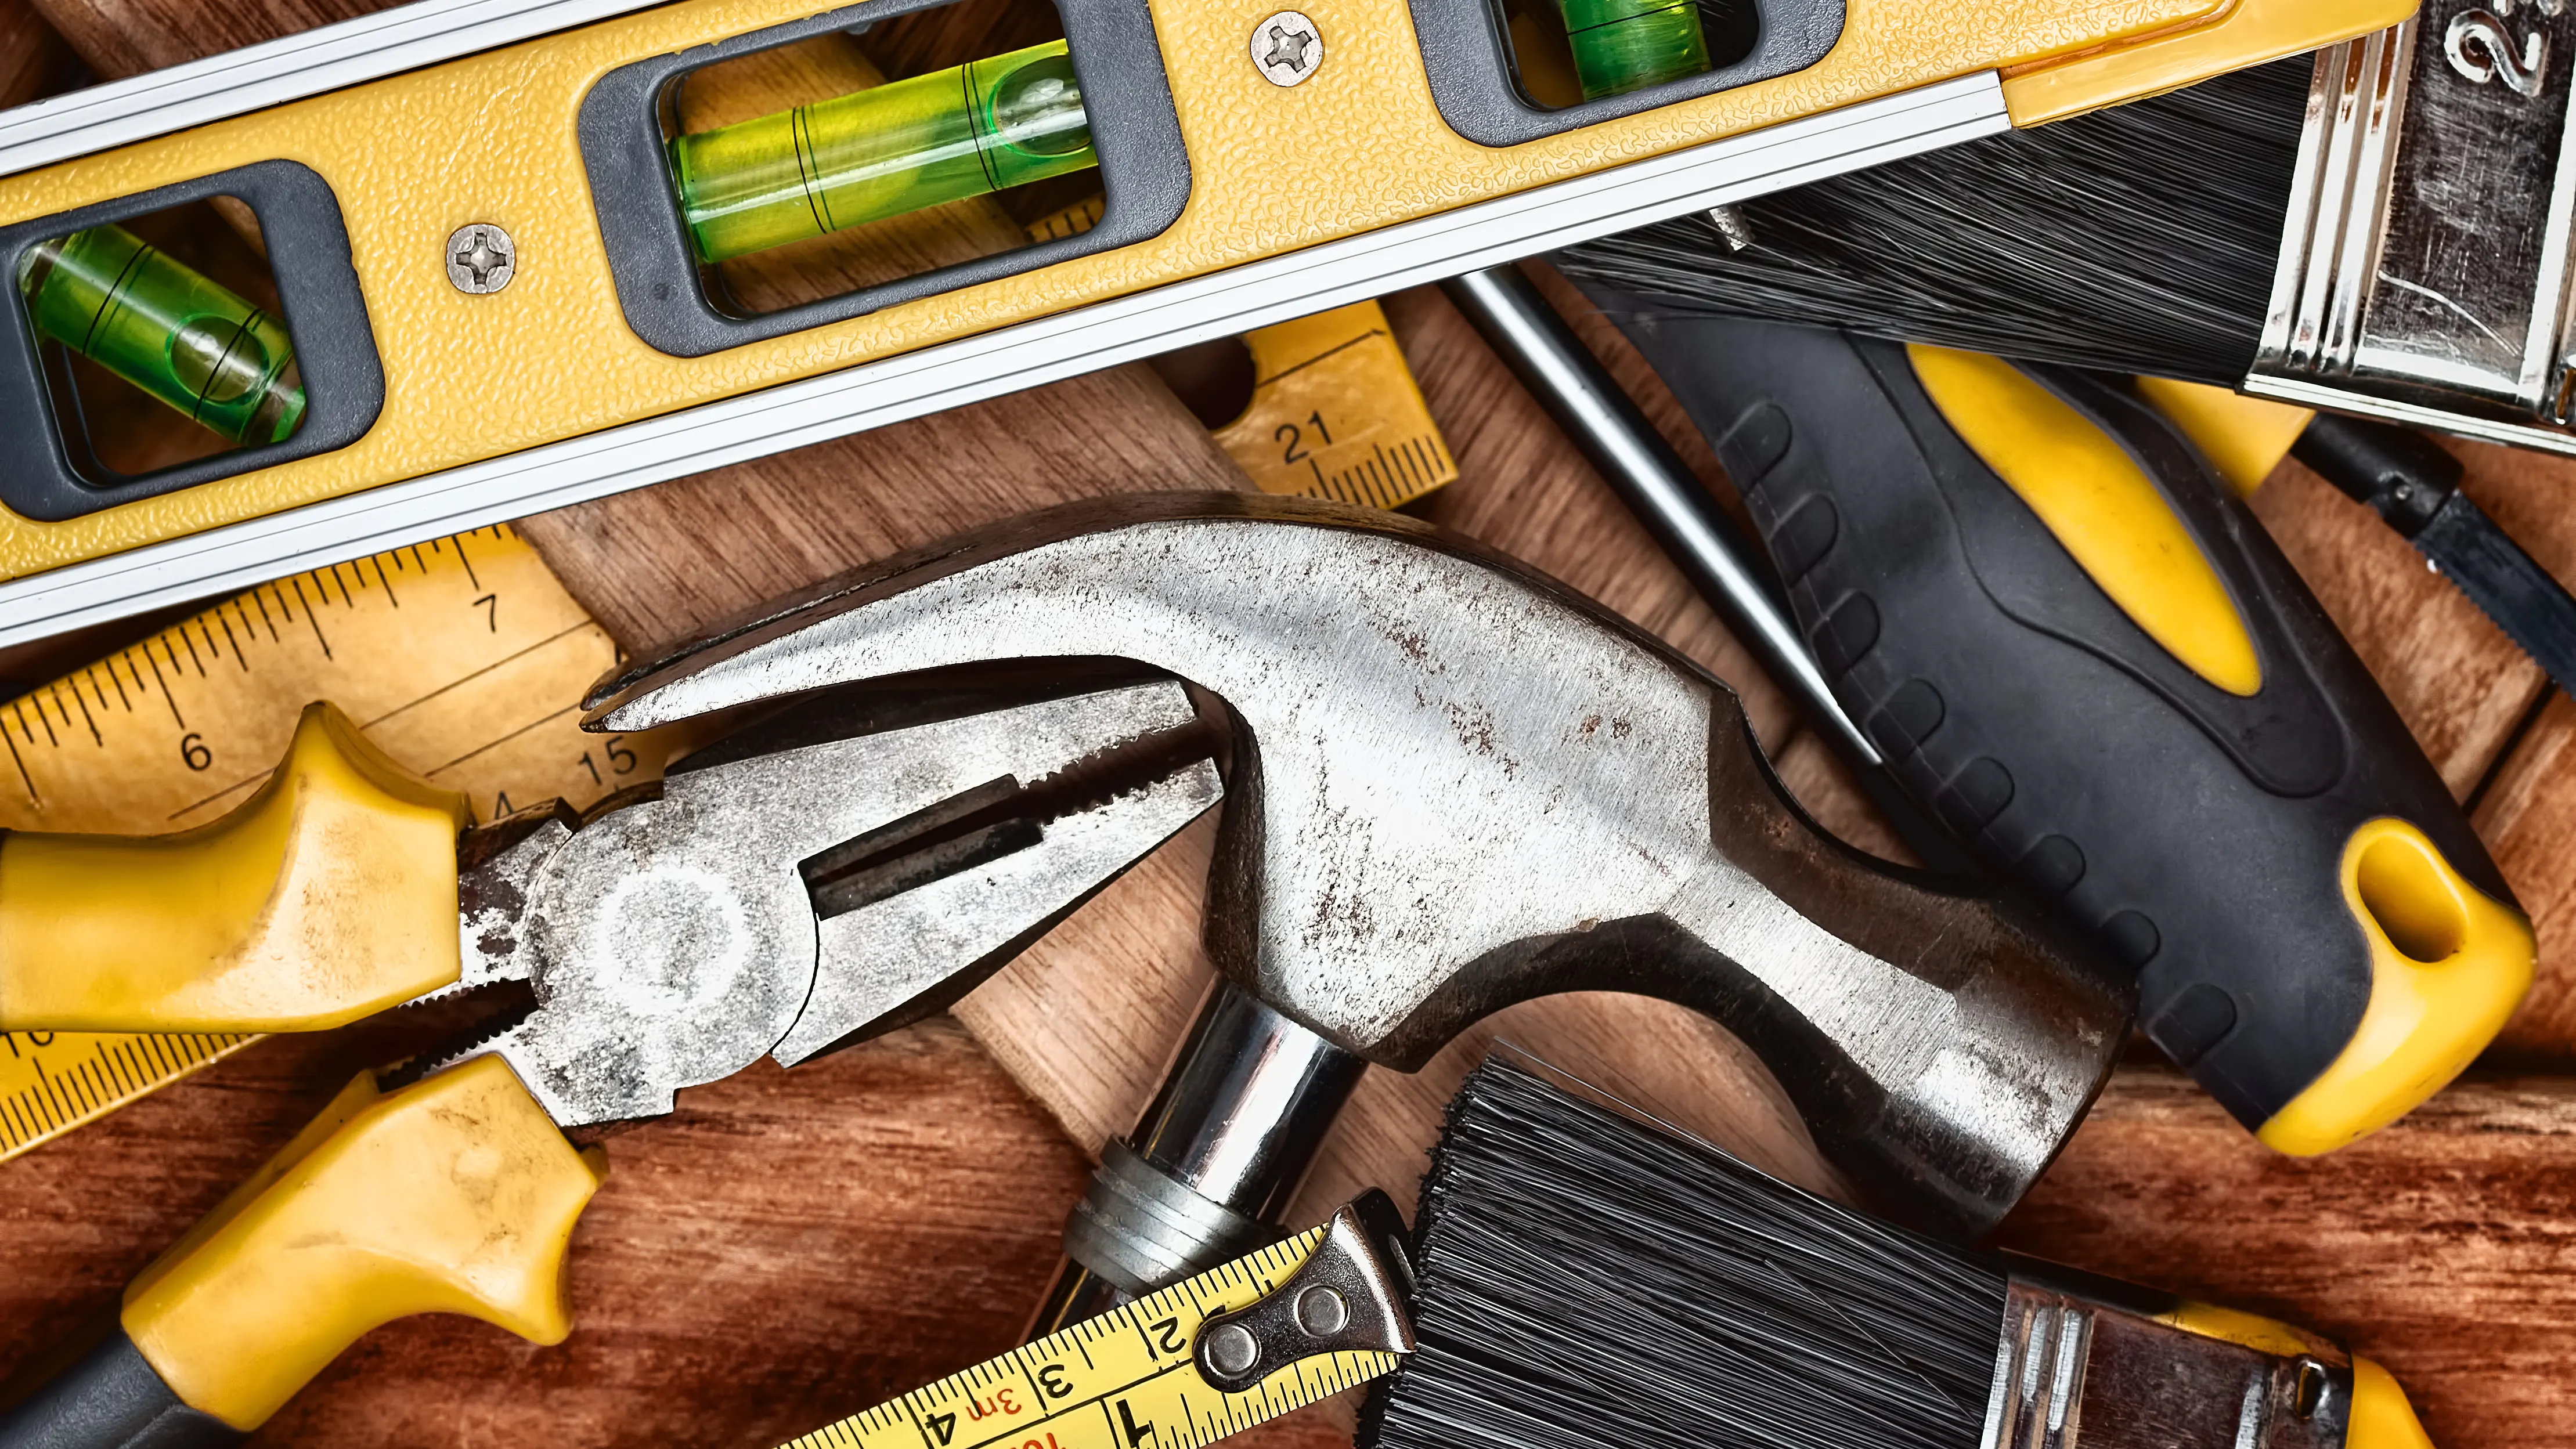
To install James Hardie siding, you will need the following materials:
- James Hardie siding boards, which come in various styles and sizes.
- A measuring tape to measure and mark the area where the siding will be installed.
- Protective gloves, safety glasses, and an N-95 dust mask for your safety and protection.
- Fiber cement shears or circular saw to cut the boards for a perfect fit.
- Nails or screws to attach the Hardie siding to your walls.
- Caulk, sealant, and joint compound to finish off the installation of each board.
Installing Hardie Board Siding
Siding Replacement
If you are performing a siding replacement then continue reading and if you are not then continue to step one.
First, assess the type of siding you are removing. Knowing what type of material is on your home's exterior walls is key to knowing how to properly remove it. The most common type of siding is aluminum, wood, or vinyl siding.
When you have identified the existing siding it is time to begin removing it. Use a pry bar or a utility knife to carefully remove each section of siding. Be sure to wear gloves when handling the materials as they can be sharp.
Next, inspect your walls for any damage and make any necessary repairs before installing the Hardie siding.
Step One
The first step is the preparation work that needs to be done before any siding installation can occur. Ensure the walls of your home are covered in either foam, plywood, or an OSB which is oriented strand board. Once you know those are secure you can then apply a house wrap or felt paper for the Hardie boards to go on top of.
Step Two
The second step in the James Hardie siding installation process is to measure and mark the area where the siding will be installed. It is important to accurately measure and mark the area, as this will ensure that the siding fits correctly and looks aesthetically pleasing. It will also save you time and keep everything organized when you need to cut material.
Here is where you can measure or mark your starting and ending points, the stud locations, and the length and width of the wall to know how much material you will need.
Step Three
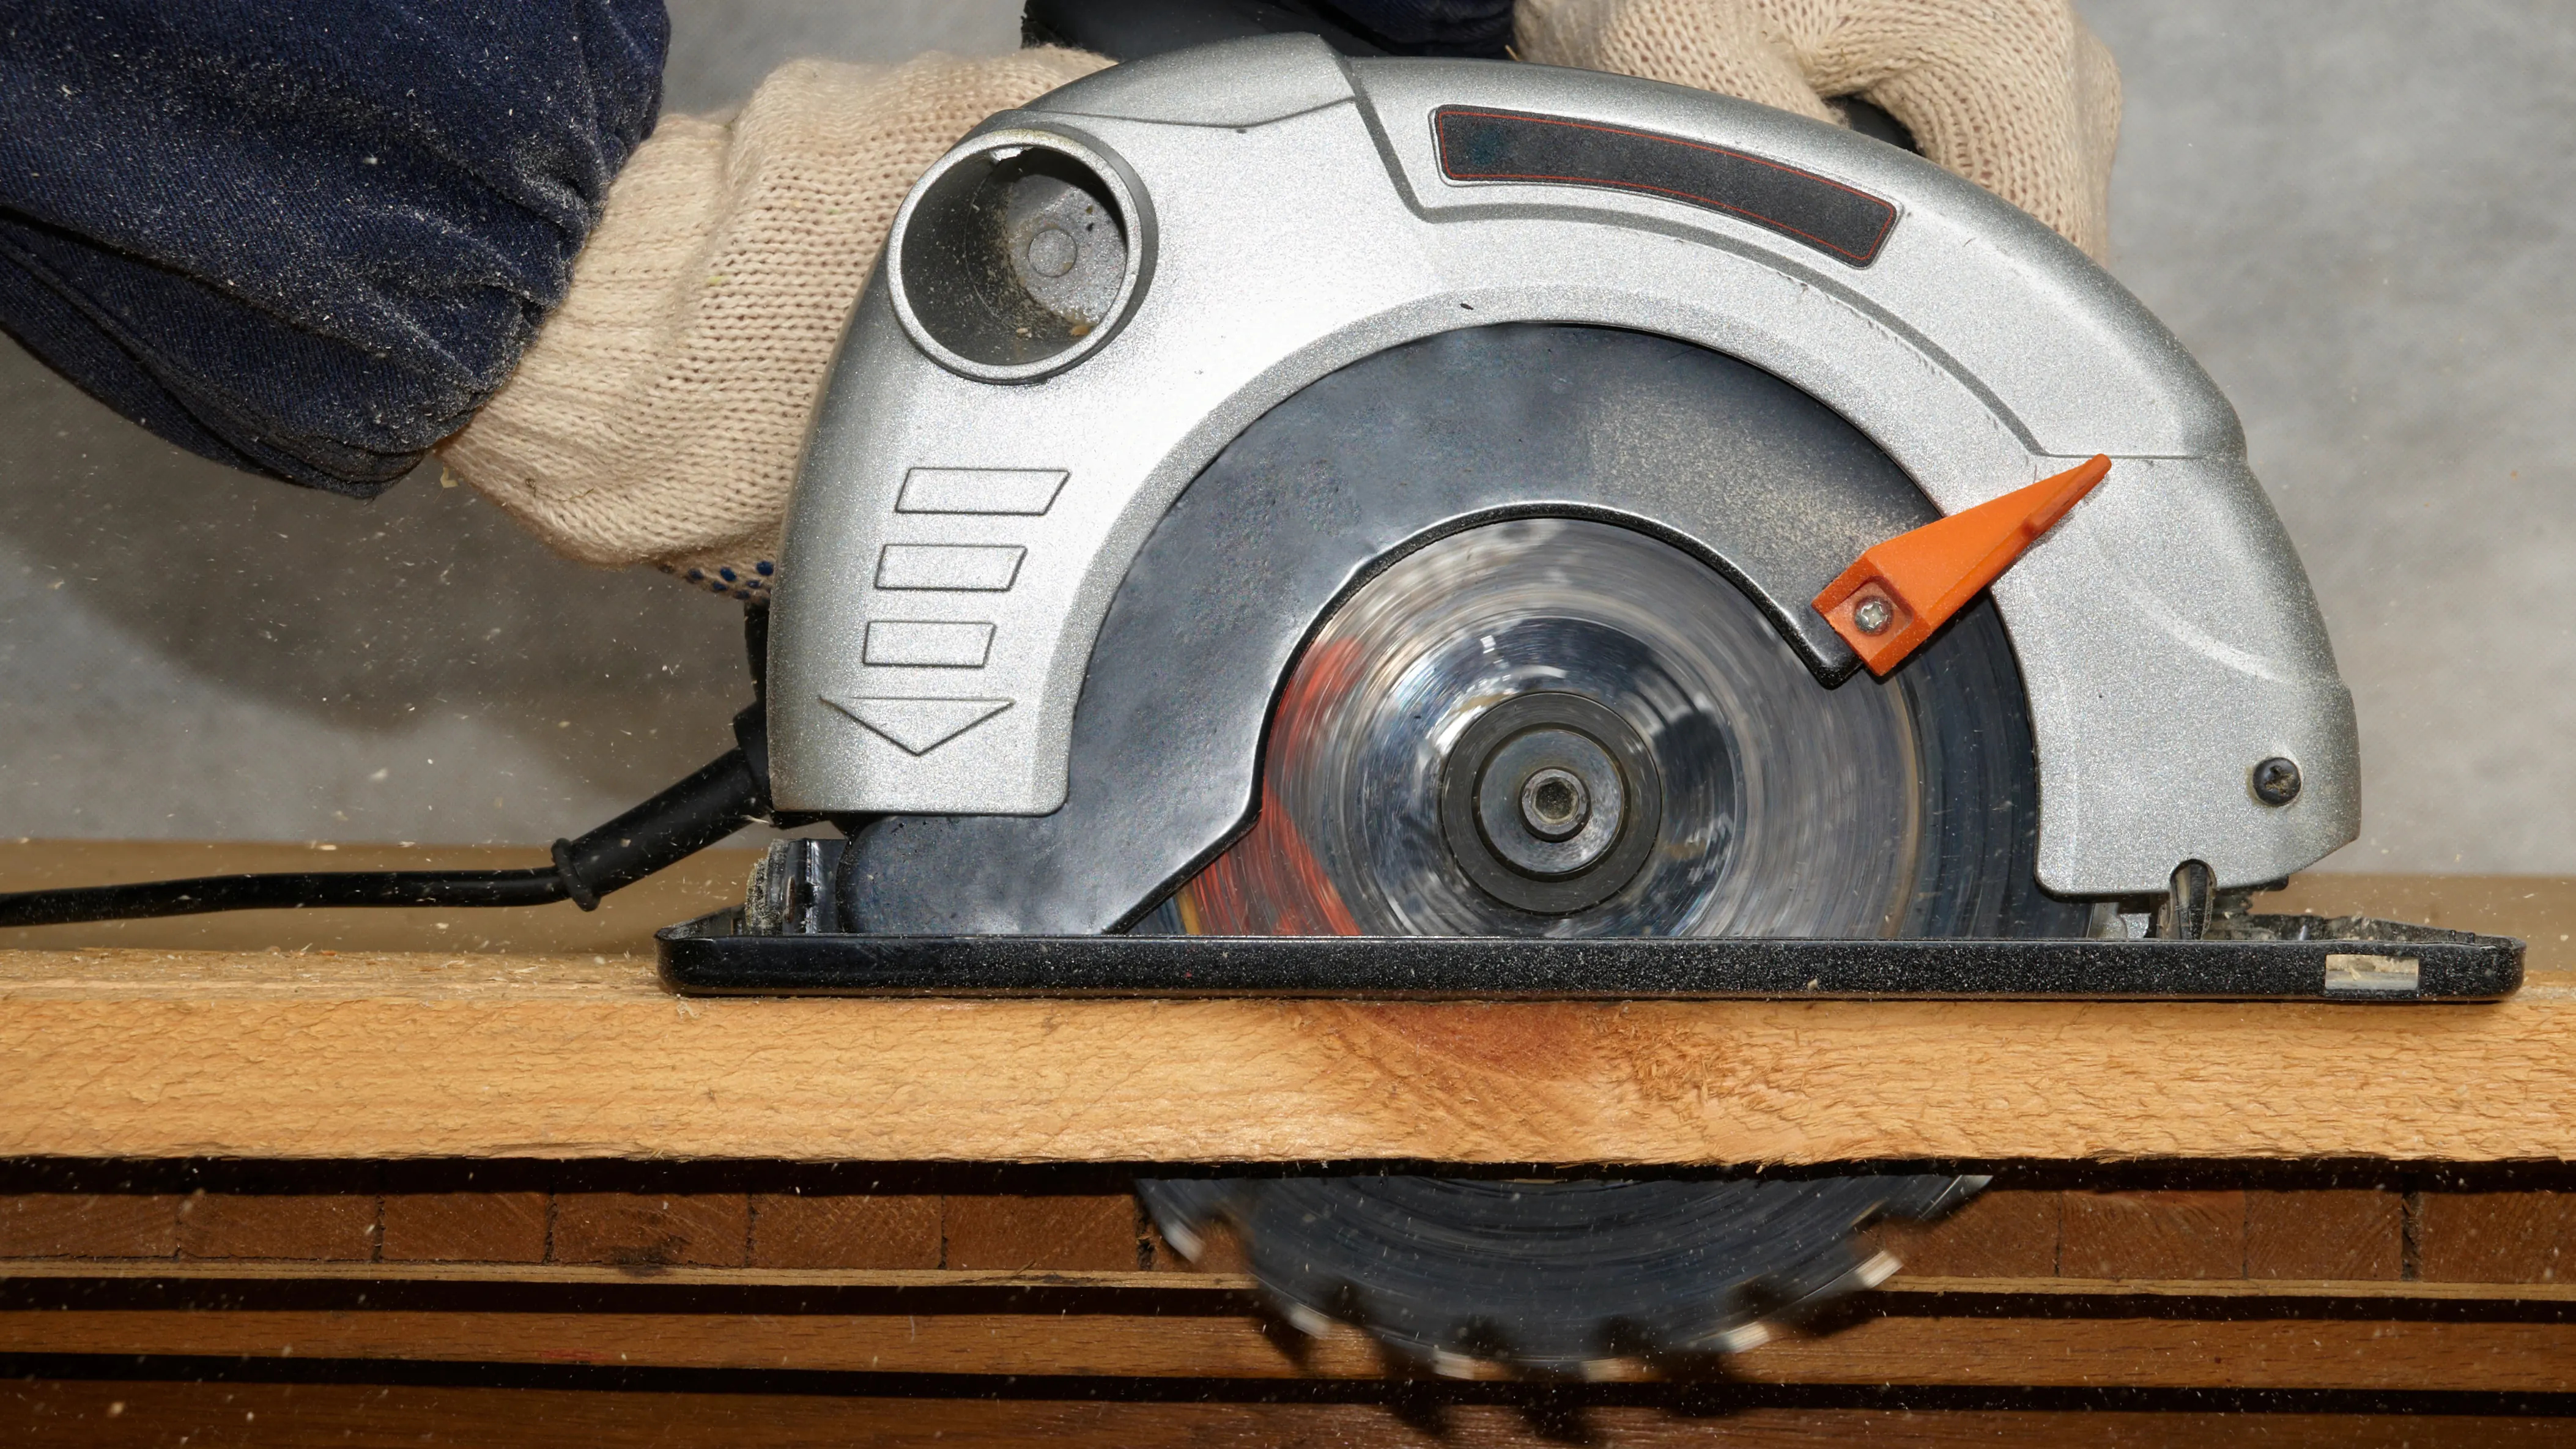
Once you have marked the area, it is time to cut the Hardie siding boards to size. Using fiber cement shears or a circular saw, cut each board according to your measurements for an exact fit. Be sure to use protective gloves and safety glasses when cutting the fiber cement boards.
Step Four
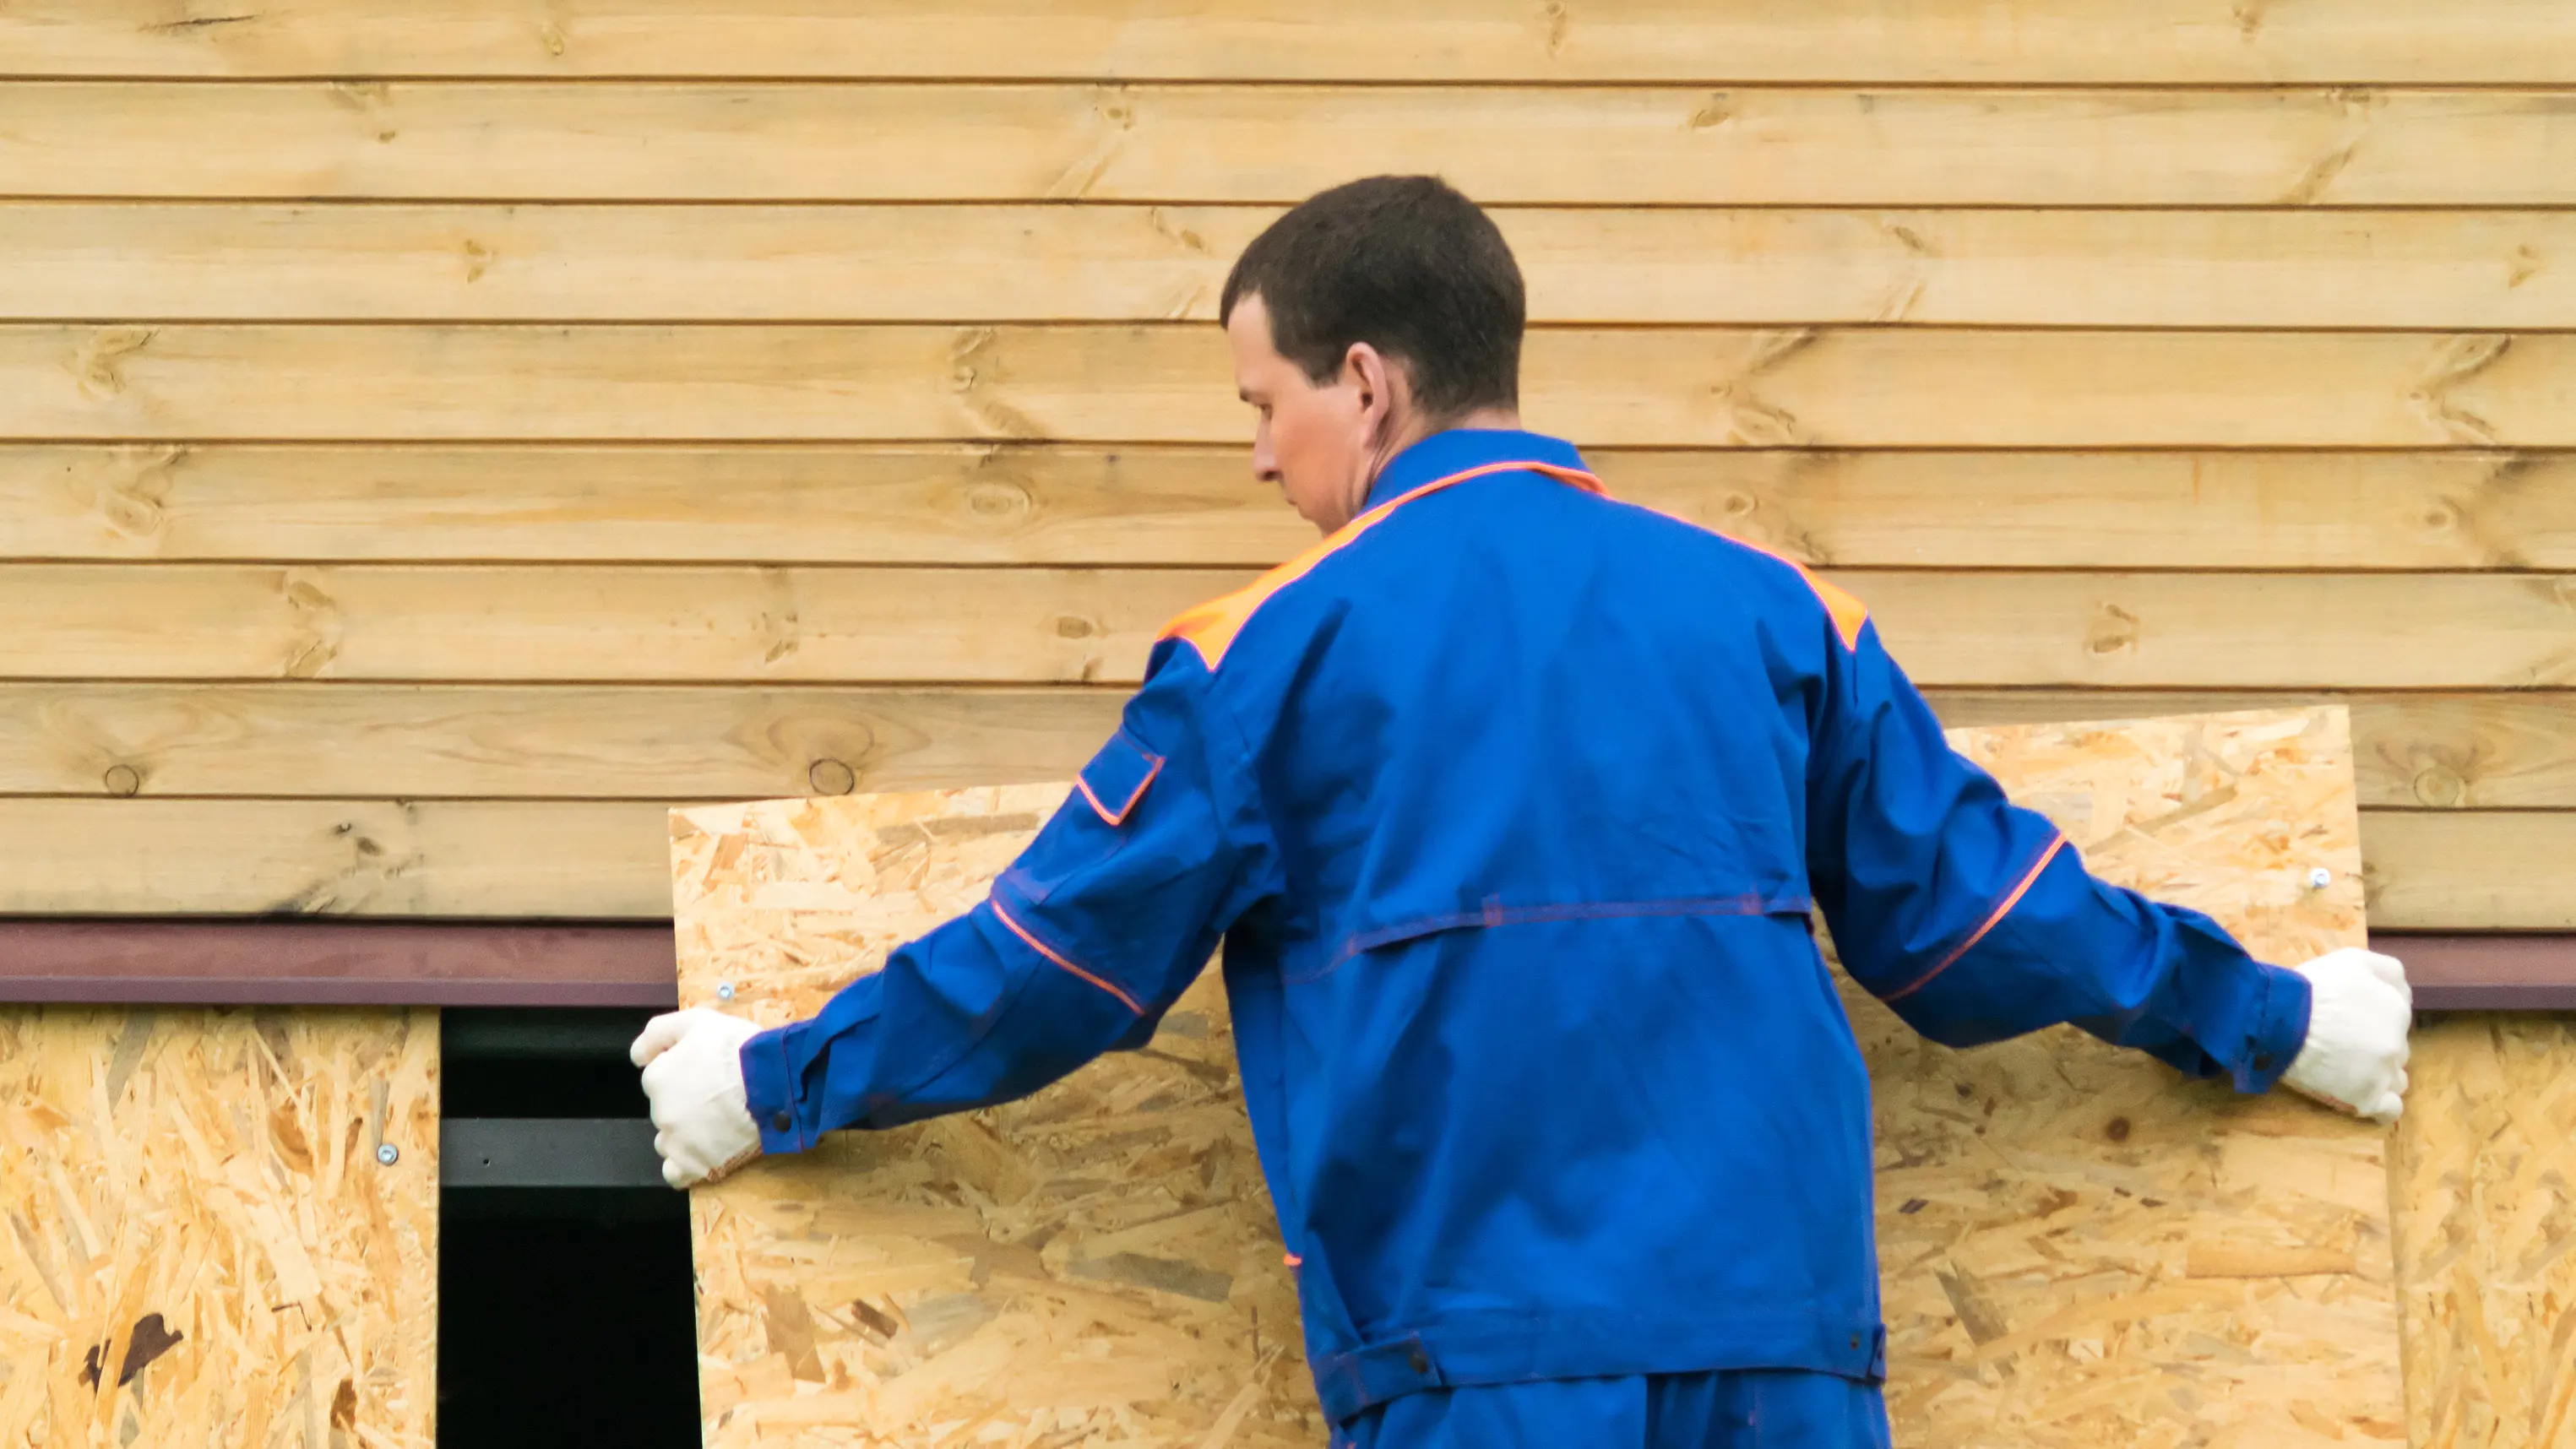
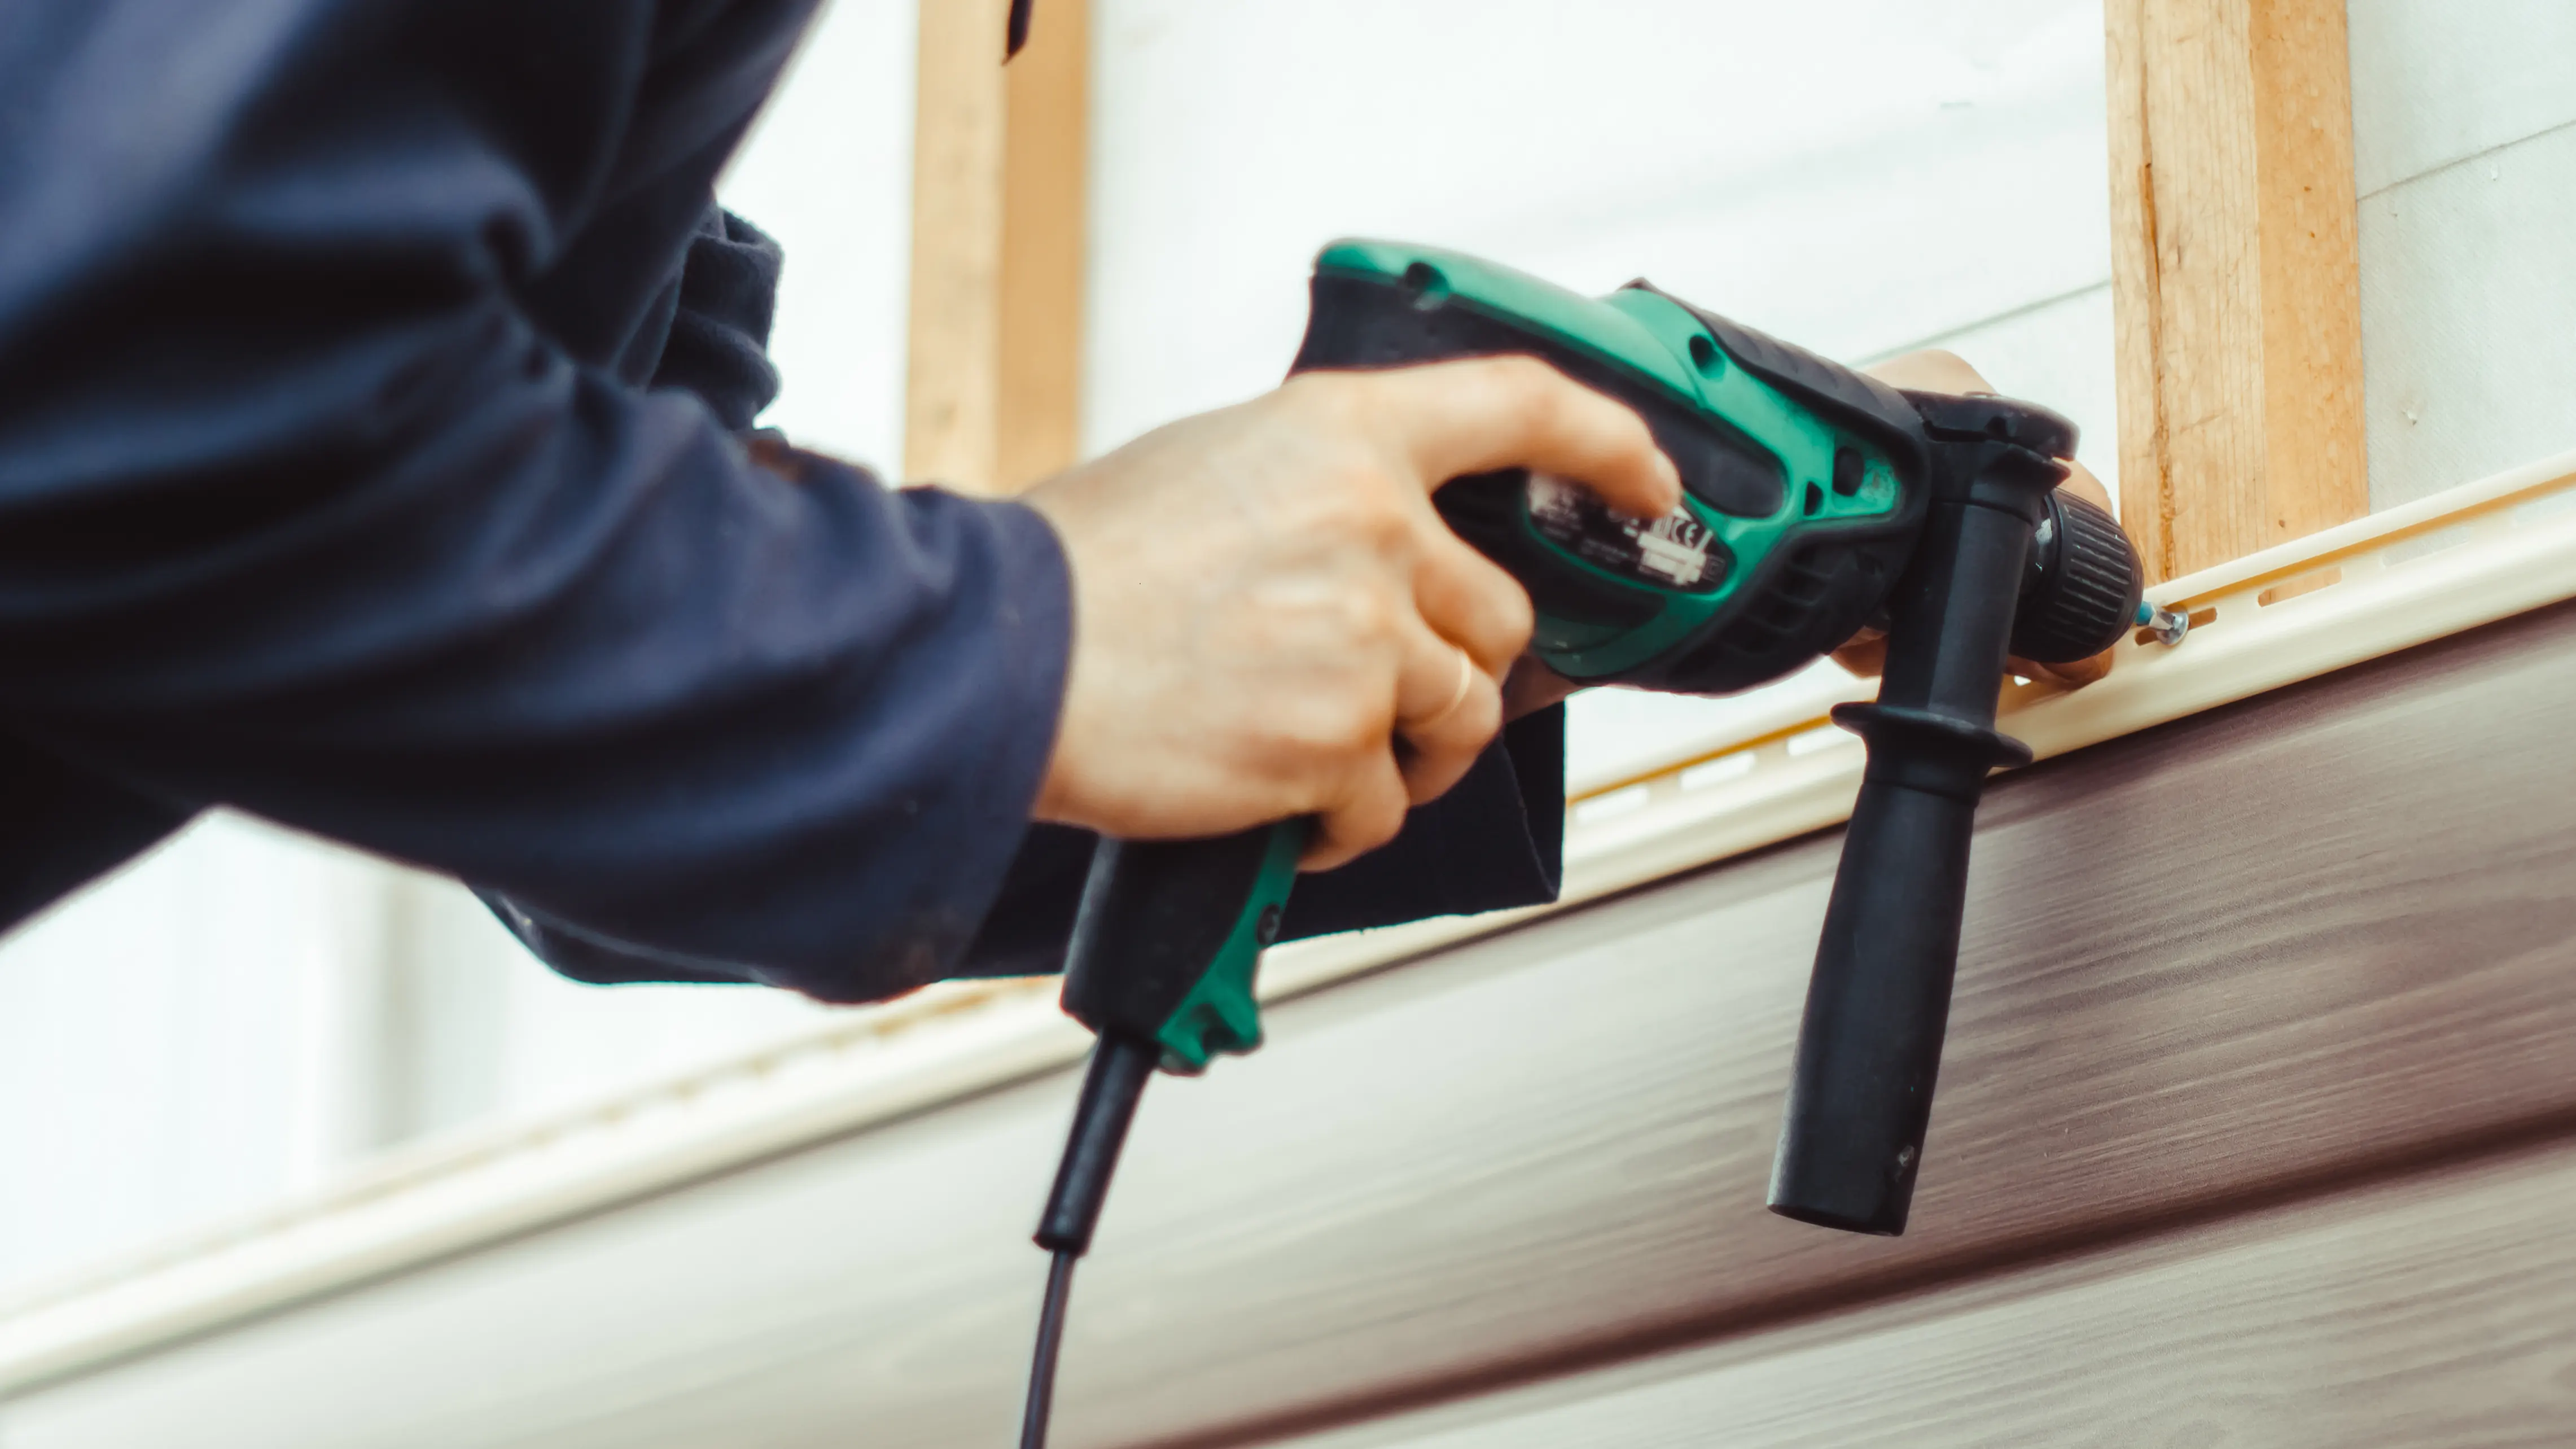
Next, attach the siding boards to your walls by using nails or screws into the space you have measured for the Hardie board. For the nails, it is recommended to use stainless steel or hot-dipped galvanized nails. You can nail by hand or use a pneumatic nailer to fasten the nails to the new siding of your home.
Be sure to use a level when attaching each board and follow the manufacturer's instructions for proper installation.
When installing the Hardie board siding, keep in mind that the boards must be at least six inches above the grade level of the house and one to two inches above any horizontal surfaces.
Trim and Corners
When installing the trim, be sure to leave a small gap between the trim and the siding to allow for the expansion and contraction of the materials. Fill any gaps and nail holes with caulk or putty to ensure a smooth, seamless finish between the siding and the trim.
When installing corners, install the siding up to the corners and when you are ready, finish the siding installation by placing the corner trim over the siding to conceal the gaps in the corners. Fill in the gaps with caulk.
Step Five
Once all of the boards have been attached, you will need to add a bit of finishing touches to make sure the Hardie siding is properly installed. Use caulk, sealant, and joint compound to fill in any remaining gaps or cracks between each board. This will increase the longevity of your Hardie siding and protect against moisture damage.
Step Six
Once all of the steps have been completed, you can now enjoy the new look of your home with the James Hardie siding. With proper installation and care, you should expect your James Hardie siding to last for many years without any problems.
We hope you found this guide helpful on how to install James Hardie siding! If you have any questions or concerns, feel free to contact a professional contractor for additional assistance on any of our James Hardie products. Thank you!
Commonly Asked Questions
Should you caulk Hardie Board siding?
Caulkers have been used successfully to seal Hardie Board siding because they protect joints and prevent moisture from escaping through the cavities of walls.
Does Hardie Board crack?
Hardie fiber cement is one of the strongest siding options available, however, a poor installation can cause Hardie Board siding to crack. If you are worried about this, please reach out to one of our professional contractors and we would be more than happy to help you!
Can I install Hardie siding by myself?
Although fiber cement siding is thick and durable that also means that is heavier and harder to install. It is best to have a minimum of two people when installing or replacing any James Hardie material.
What safety gear do I need when installing?
When installing Hardie siding, it is absolutely essential to have the right safety gear. This includes wearing protective gloves for your hands, safety glasses for your eyes, safety ear protection, and an N-95 dust mask to protect your lungs from the dust that comes from cutting the fiber cement boards.
What are the best nails to use?
The best nails for Hardie board siding are stainless steel or hot-dipped galvanized nails. These types of nails are resistant to rust and corrosion which makes them perfect for outdoor applications.
Congratulations on completing the installation of your James Hardie siding! This was an important job, and we hope it serves your home well for many years to come. Reach out to our team with any more questions or assistance!
Contact Us
Get a FREE Siding & Windows Estimate
Serving North California & The Greater Bay Area For The Last 15 Years
Latest Posts


Book your appointment
Get a free siding or windows estimate today by simply filling out this form.


