Should I Replace My Wind...
- Mon to Fri: 09:00 am to 07:00 pm

Are you starting a home improvement project and desire new windows and need to get measurements? Have you ever wondered how the measurements of a window impact the efficiency and functionality of your home? Do you know what factors to consider when getting accurate window measurements?
These are just a few of the questions you may be asking yourself as you embark on the journey of replacing your windows. Fear not, as there are answers and solutions to all of these inquiries.
By educating yourself on the proper techniques and understanding the importance of accurate measurements, you can ensure that your new replacement windows will not only look great but also provide the maximum benefits to your home.
We will go over a simple and easy three-step process of taking replacement window measurements so you can install replacement windows properly. So prepare your tools and set aside some time for this project and let’s get started on measuring for your window replacement!

The first step in measuring replacement windows is to gather the necessary tools and items. Look at the list above for what you will need. Also, take the time to know your tools so that when it comes time to use them you will know how to.
Your measuring tape will be the tool you use the most. They come tend to come in both Imperial (feet and inches) and Metric (centimeters and meters) units of measurement. The larger group of numbers usually always tends to be the imperial unit of measurement.

Becoming familiar with your window and knowing terminology will make measuring easier than you could imagine.
There are four terms you need to know and that we will show you!
TIP: If you are replacing multiple windows be sure to mark where they go and keep a record of measurements and location to keep the replacement process simple!

When measuring for replacement windows, there are three measurements to take that are important which are the width, height, and depth of the window opening.
The width and height will determine the size of the window needed so that it fits into the existing opening. It is important to measure both the inside and outside of the window frame in order to get an accurate measurement.
To get the width measurements, start at the left side of the existing window and extend your tape measure or ruler all the way across to the right side.
You will measure from jamb to jamb on the bottom, middle, and top of the window. Record the measurement and then double-check it to make sure it’s correct. Use the smallest number as your width.
To get the height measurements of your window, start at the top right corner of the existing window and extend your tape measure or ruler all the way down to the bottom right corner. Be sure to measure from the head to the sill on the right, middle, and left sides. Use the smallest number as your length.
Window depth, also known as window sill depth, is the distance from the front of the existing window frame to the end of the frame behind it.
To measure window depth, open up your window and measure from the end of the window frame that is outside to the end of the frame inside the home.
If you cannot open your window, then take measurements from either side of the frame and then add the thickness of your glass. The average thickness of a window pane is 1/8″ or 3mm.

Once you have all three measurements, it is important to record them accurately so that when purchasing your replacement windows, they will fit properly. Write down each of the measurements ensuring to include the width, height, and depth. Make sure to record the smallest measurement as your final number.
Now that you have all the measurements of your window, you are ready to purchase and install replacement windows! Make sure to double-check your measurements before getting started! Good luck with your project.

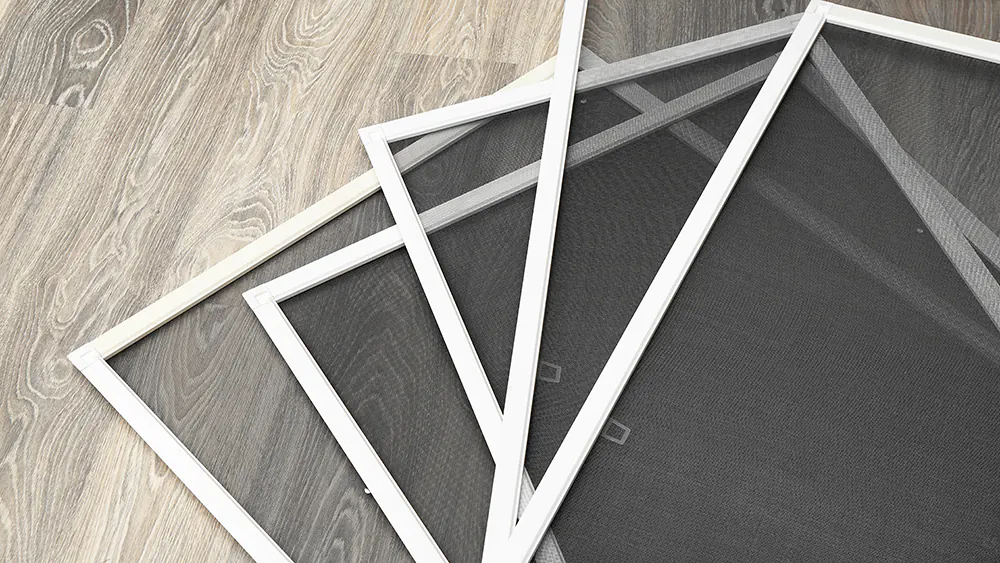
Measuring window screens is an important part of ensuring that you have the right size for your windows. To ensure a proper fit, it is essential to measure your screens accurately and consistently.
To begin, start by measuring the width of the window opening. Measure from one side to the other with a measuring tape. Make sure that the measurements are taken at the outer corners of the opening. Record this measurement.
Next, measure the height of the window opening. Measure from top to bottom with a tape measure. Make sure that the measurements are taken at the outer corners of the opening and again record it.
Once you have those two measurements, add 1/2 inch to both the width and height for an allowance. This will help ensure that your window screen fits properly in your window opening without being too tight or too loose.
All windows have some room for trimming or rearranging windows in the opening. If buying the window, subtract 1/4 inch from the width or height for an accurate replacement measurement.
Please keep your original measurements in mind to avoid any problems when you want an increased clearance.
There are many types of windows to choose from. Some popular choices are the double-hung window, single-hung windows, and casement windows, and you can always get custom windows.

When considering exterior home projects, replacing windows or siding is a common dilemma. Homeowners must decide which renovation project to tackle first depending on each component’s overall condition and age. Generally, window replacement should be done first if they are in urgent need for repair or modernization. If you are looking to replace your siding before windows don’t worry windows can always be installed after a siding installation. Though it will cost more in the long run due to the extra labor in removing your new siding around the window.
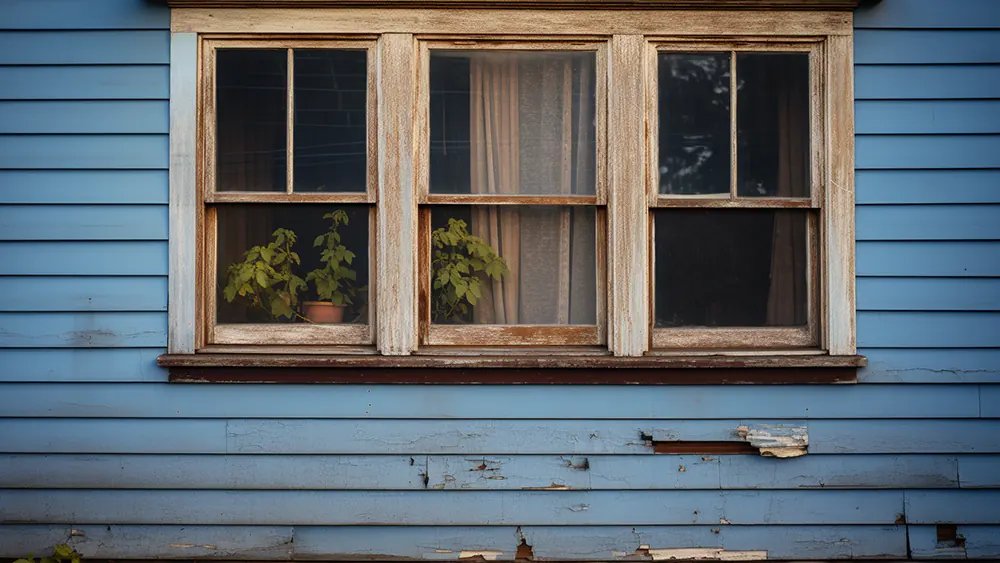
If your windows are still holding their structural integrity then there is no need to replace them. But over time, window frames can deteriorate due to exposure to sunlight, extreme weather conditions, and other factors. If left unattended, damaged window frames can lead to air leakage, water infiltration, and even mold growth.
Therefore, it is essential to replace them when signs of wear and tear start to show. Replacing your existing frame not only improves the look and function of your home but also saves you money by reducing energy costs and preventing further damage.
When writing down measurements for windows, there are a total of 4 numbers that you will write down. An example would be 2436. The first two numbers represent the width which would be two feet and four inches and the second two numbers represent the height which would be three feet and six inches.
You can do this with any type of window measurement.
Good luck on your window instalation. Reach out to our team with any more questions or assistance!